Thursday, February 28, 2019

FRAMED WILD GARDEN PEEK

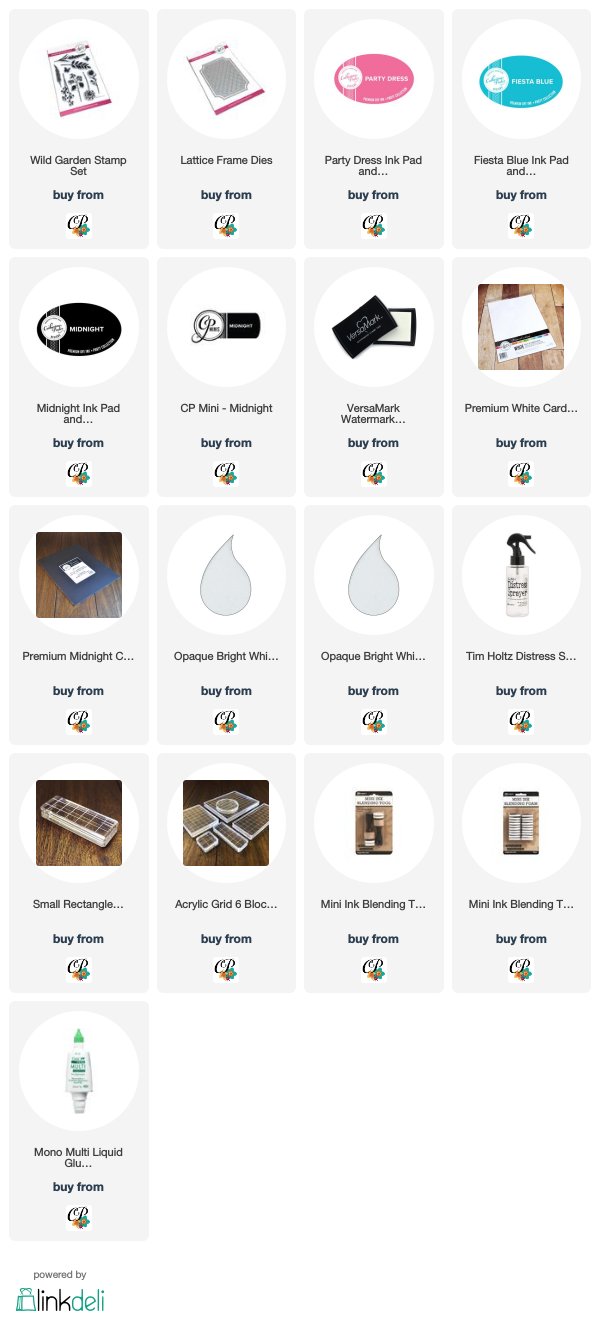
Hi everyone!  I have a card up over on Catherine's blog using the Wild Garden stamp set and the Lattice Frame dies.

Here's a peek...


I hope you will pop over -->HERE<-- and check out the full card and post.
Thank you for visiting and have a great day!

SUPPLIES

A list of supplies I used can be found below, just click on the picture below to be taken to where you can get the product.  I do use some affiliate links when I can, this means I will get a small commission if you choose to purchase the product using my link-this is at no cost to you and helps with the running of my blog.  I really appreciate your love and support!
Tuesday, February 26, 2019

HAPPY BIRTHDAY WITH MARBLE SWIRL STAMP!!!


Hi friends!  I have two cards to share with you today using the awesome and so creative Marble Swirl stamp by Catherine Pooler.  If you haven't seen this stamp set yet, you need to check it out.  I will link to it below.

I stamped one full card front using the stamp set and then cut it apart to create 2 cards.  I am sure you can see the variation of purples that I used.  I love that this stamp is separated into three different marble pieces so you can achieve variation of colors throughout the marble design.  It is really cool to play with.


The rest of the card is pretty simple.  I stamped and die cut a flower from the Zen Feather stamp set and colored in part of the flower using my blender pen and Catherine's inks.  I must have grabbed some watercolor card stock because it is a little cream colored and not bright white like Catherine's paper, but it's ok.  It still looks fine.  The sentiment is from Papertrey Ink.


I added a strip of glitter card stock to give a bit more sparkle and wow to these cards.

Thank you for visiting and have a great day!

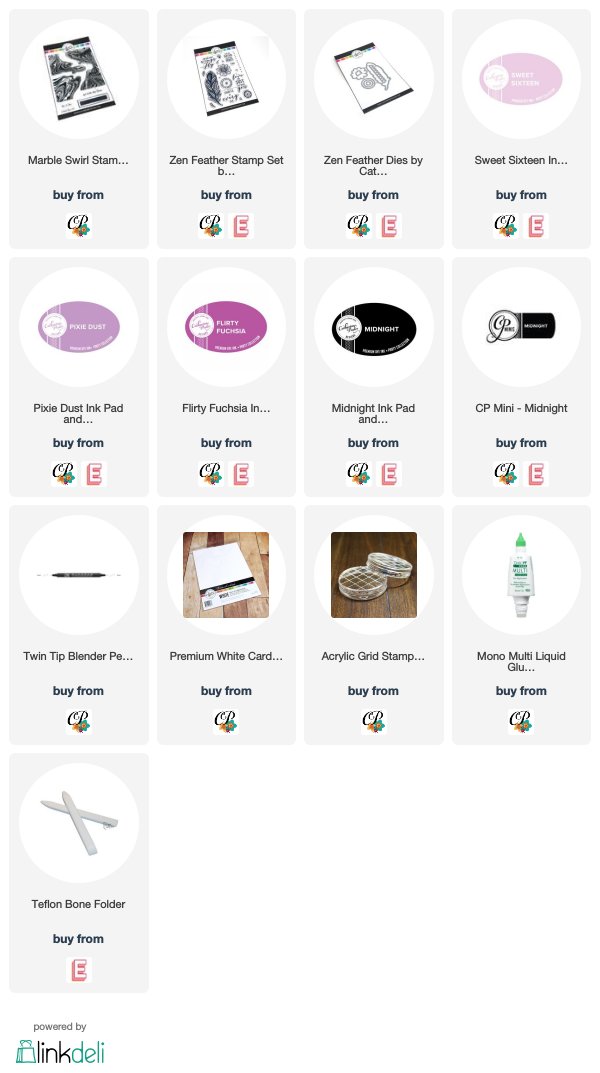
SUPPLIES

A list of supplies I used can be found below, just click on the picture below to be taken to where you can get the product.  I do use some affiliate links when I can, this means I will get a small commission if you choose to purchase the product using my link-this is at no cost to you and helps with the running of my blog.  I really appreciate your love and support!
Saturday, February 23, 2019

WELCOME HOME!


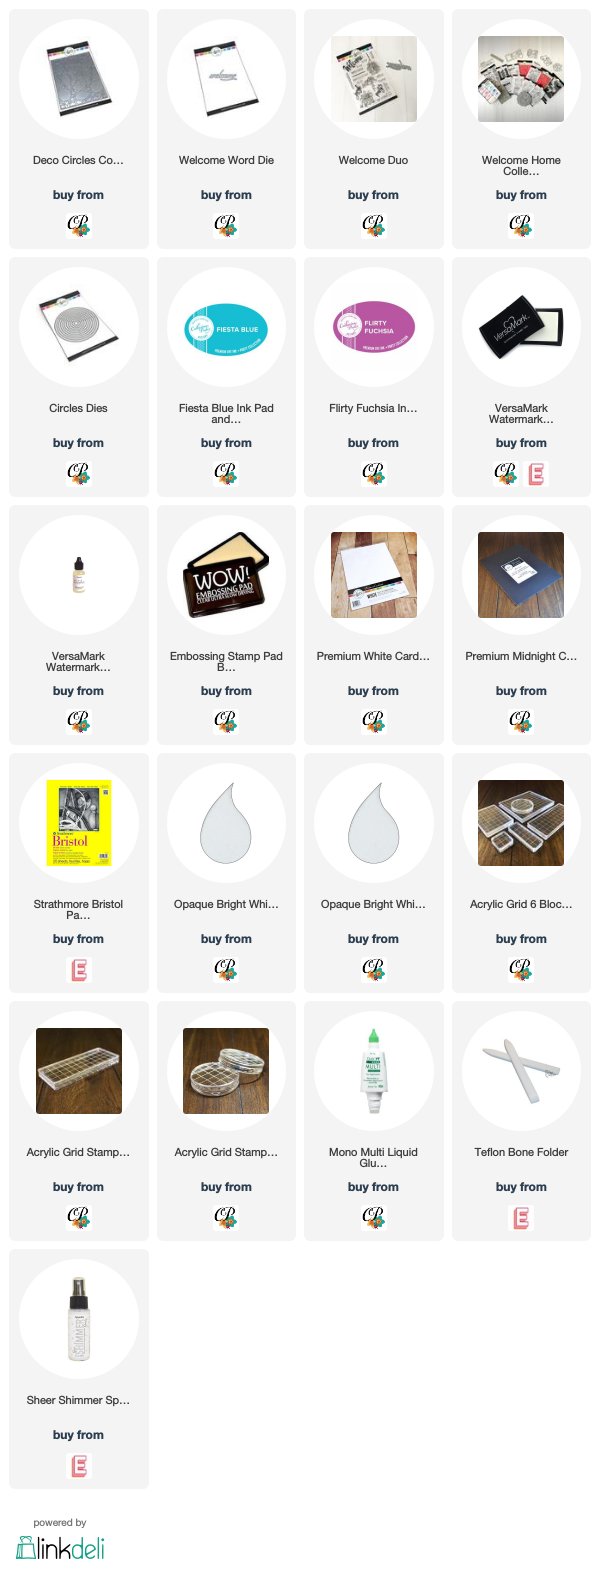
Happy Saturday friends!  How fun is this Deco Circles Cover Plate Die by Catherine Pooler?!  I love the many ways you can use this die.  I die cut it from Midnight card stock, keeping the bits and pieces to the side in case I wanted to inlay some of the pieces back in.  After die cutting, I worked on the center piece.

I took Fiesta Blue and Flirty Fuchsia inks and smooshed them on my craft mat and spritzed with Sheer Shimmer Spritz by Imagine Crafts, you could just spritz with water here, but I wanted some added sparkle.  I smooshed my die cut circle into the inks and played around with drying and smooshing until I got something I liked.


I adhered it to the back of the die cut and then die cut the Welcome die from white card stock and white heat embossed the sentiment.  I trimmed off the swoosh that is attached to the "e" on the welcome die in order to fit my heat embossed sentiment better.  I did add in a few of the Midnight bits near the colored circle.  I just thought it looked better with them in.  

Thank you for visiting and have a great day!

SUPPLIES

A list of supplies I used can be found below, just click on the picture below to be taken to where you can get the product.  I do use some affiliate links when I can, this means I will get a small commission if you choose to purchase the product using my link-this is at no cost to you and helps with the running of my blog.  I really appreciate your love and support!

Wednesday, February 20, 2019

HAPPY BIRTHDAY!

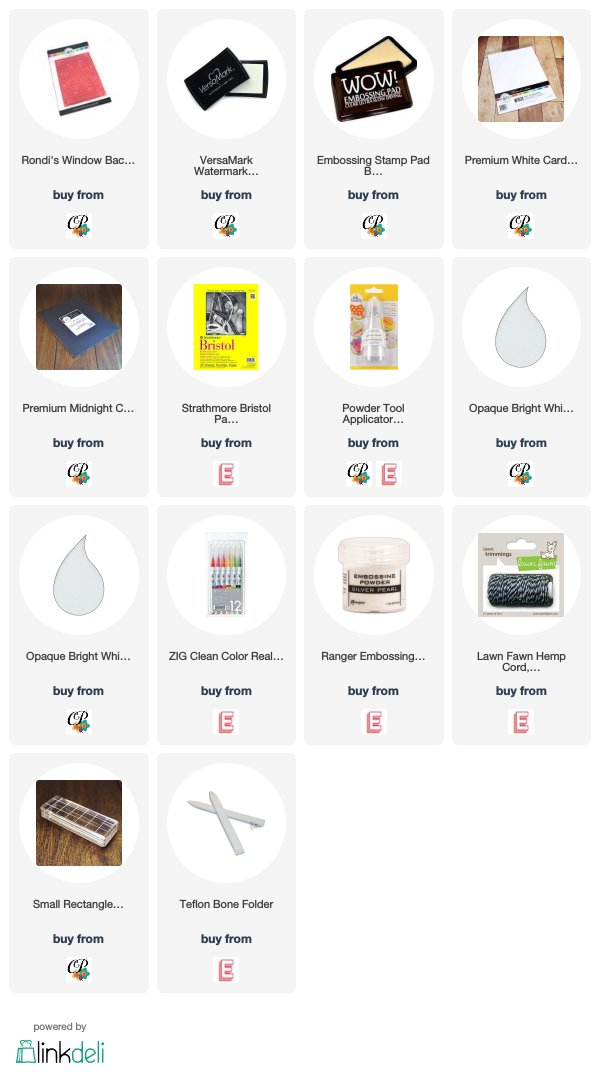
Hi friends!  I am sharing a card using the Rhondi's Window Background stamp by Catherine Pooler.


I stamped and heat embossed using Silver Pearl embossing powder on Bristol Smooth water color card stock.  I used my Zig Clean Color Brush Markers to color in part of the design.


I added a white heat embossed sentiment across the center of my card and added some black and white twine to finish off my card.

I will be adding this over at Seize the Birthday: Anything Goes.


Thank you for visiting and have a great day!

SUPPLIES

A list of supplies I used can be found below, just click on the picture below to be taken to where you can get the product.  I do use some affiliate links when I can, this means I will get a small commission if you choose to purchase the product using my link-this is at no cost to you and helps with the running of my blog.  I really appreciate your love and support!

Tuesday, February 19, 2019

MANY THANKS

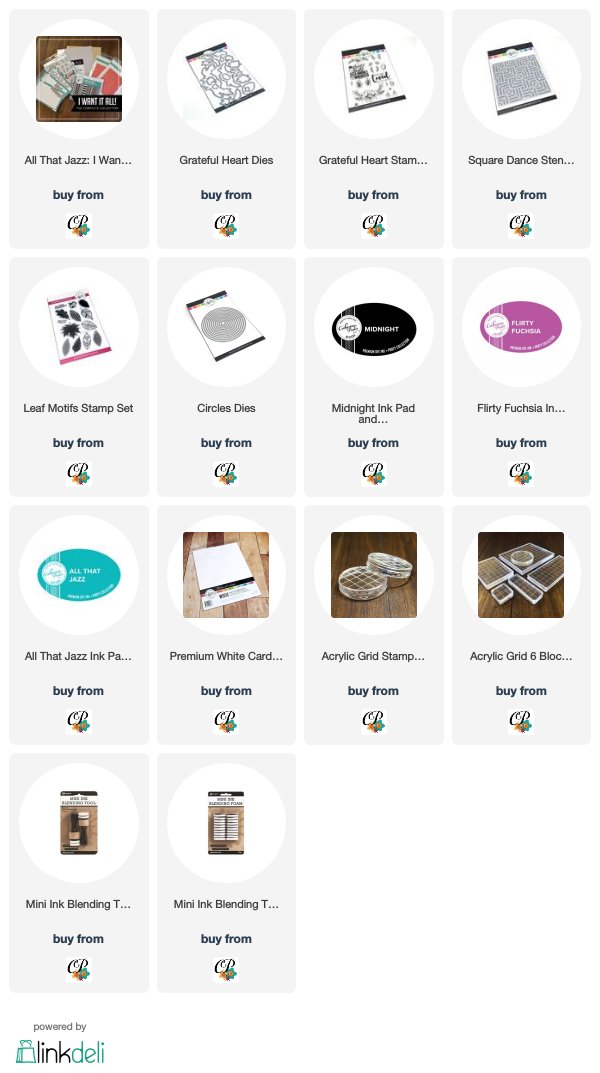
Hi everyone!  I have a card up over on Catherine's blog using the amazing Square Dance stencil and the Grateful Heart stamp set.

Here's a peek...


I hope you will pop over -->HERE<-- and check out the full card and post.

Thank you for visiting and have a great day!

SUPPLIES

A list of supplies I used can be found below, just click on the picture below to be taken to where you can get the product.  I do use some affiliate links when I can, this means I will get a small commission if you choose to purchase the product using my link-this is at no cost to you and helps with the running of my blog.  I really appreciate your love and support!

Sunday, February 17, 2019

STENCIL BLENDING ON LIGHT VS DARK

Hi everyone!  There is a new class going on over at StampNation called Stencil pARTy!  Ingrid shared the first lesson on Wednesday and I was inspired to give it a try.

Here are my first cards using the dark gray card stock in the Smoke & Mirrors card stock pack.


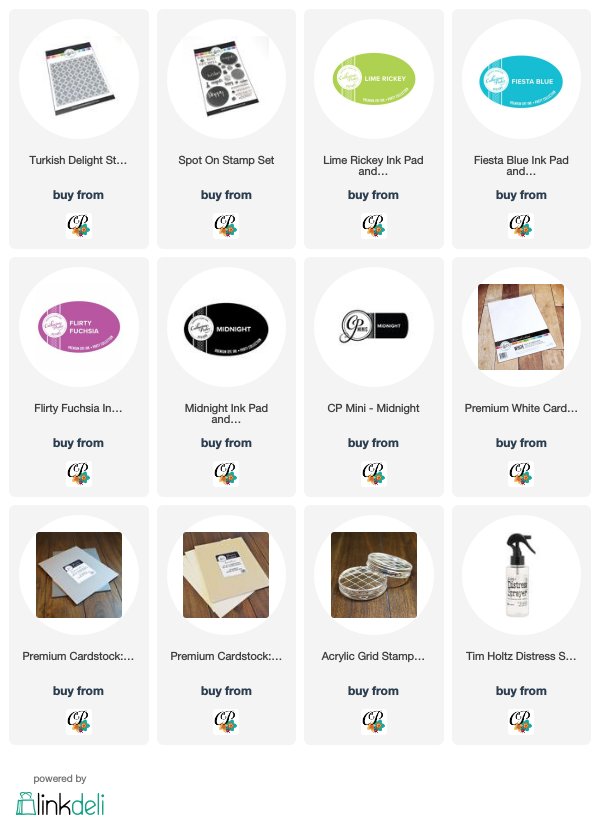
I forgot to take a picture of the whole sponged piece before I cut it into strips.  I sponged white pigment ink through the stencil first, let that dry and then moved the stencil over a bit and sponged using Fiesta Blue, Flirty Fucshia and Lime Rickey inks.


I added a stamped sentiment from the Spot On stamp set to coordinate with the colors in the strips that were cut out.  I love how the sentiment pops against the muted colors that were blended on the dark card stock.

Here are the same colors blended on a piece of white card stock.


This card was super simple to create.  I stamped the sentiment on the stenciled piece and then cut it out using a die from Papertrey Ink.  Added it to a Sand Dunes card stock piece and done.

I have another card to share with you all using the leftover ink that was on the stencil after creating the above card.  There was quite a bit of ink on the stencil, so I spritzed it with water and then used it as a stamp on another piece of card stock.


I love the subtle texture this gives in the background.  I kind of wished I would have spritzed with more water, but it's ok.  Next time.  

I am adding one of the above cards to Seize the Birthday: Anything Goes.


Thank you for visiting and have a great day!

SUPPLIES
A list of supplies I used can be found below, just click on the picture below to be taken to where you can get the product.  I do use some affiliate links when I can, this means I will get a small commission if you choose to purchase the product using my link-this is at no cost to you and helps with the running of my blog.  I really appreciate your love and support!

Friday, February 15, 2019

WELCOME

Hi friends!  Have you hopped along the hops for the Welcome Home release by Catherine Pooler?  You still have some time to get your comments in and win a $25 Gift Certificate to her store.

Blog hop starts HERE
Video hop on You Tube starts HERE
Instagram hop starts HERE

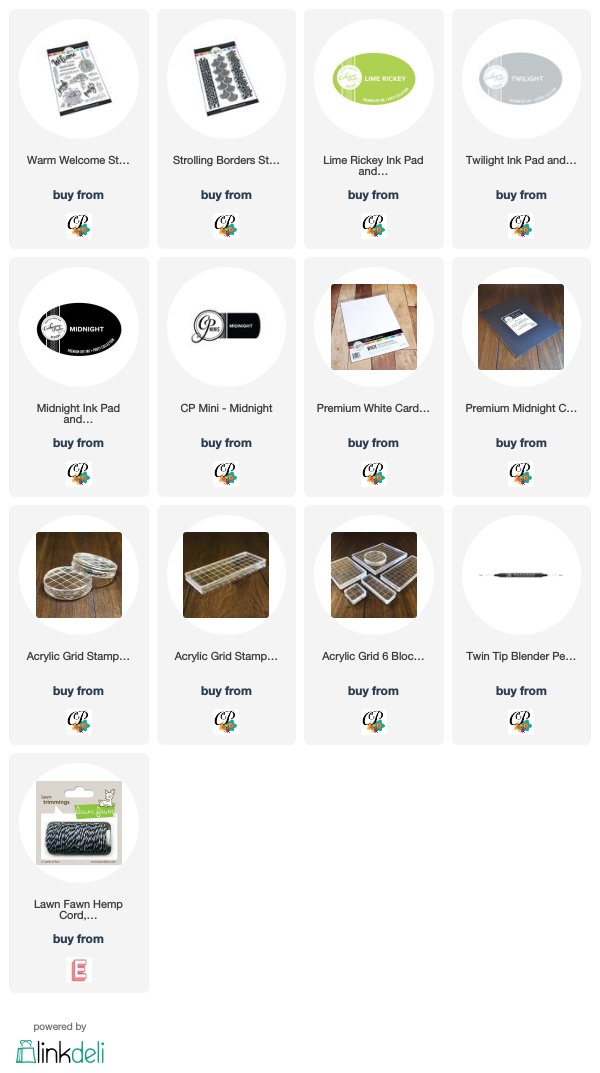
My card today features the Welcome Home & Strolling Borders stamp set.


I stamped the cobblestone border using Twilight ink on my background and then stamped the gorgeous plant onto some white card stock and colored it in using by blender pen and Catherine's inks!  I love using this technique because I am not great at coloring in images.


I put a piece of black card stock behind the stamped and colored panel to help make it pop against the background and stamped the greeting.  Added some black and white twine to finish off my design.

Thank you for visiting and have a great day!

SUPPLIES
A list of supplies I used can be found below, just click on the picture below to be taken to where you can get the product.  I do use some affiliate links when I can, this means I will get a small commission if you choose to purchase the product using my link-this is at no cost to you and helps with the running of my blog.  I really appreciate your love and support!

Wednesday, February 13, 2019

WELCOME HOME RELEASE AVAILABLE NOW!!!


Hi friends!  The Welcome Home release by Catherine is available now!  Click HERE to start shopping!

Today is the Instagram Hop.  You can start here.


I used the amazing Interlocked Die to create a focal point on my card by die cutting it from white card stock.  I used my blender pen and Catherine's ink to color in each of the "petal" pieces and inlaid them back into the design.  I wanted those to pop a bit more so I die cut a circle from black card stock and adhered it to the back.  


The sentiment was white heat embossed onto black card stock and I finished off the sentiment on the inside.


Fun right?  

Thank you for visiting and have a great day!

SUPPLIES
A list of supplies I used can be found below, just click on the picture below to be taken to where you can get the product.  I do use some affiliate links when I can, this means I will get a small commission if you choose to purchase the product using my link-this is at no cost to you and helps with the running of my blog.  I really appreciate your love and support!
Tuesday, February 12, 2019

MORE WELCOME HOME RELEASE

Hi friends!  Did you hop along the Welcome Home release blog hop yesterday and leave comments for your chance to win a $25 Gift Certificate to Catherine's store?  You can start on my blog HERE!


I have a couple more cards to share with you today using goodies from the release.  


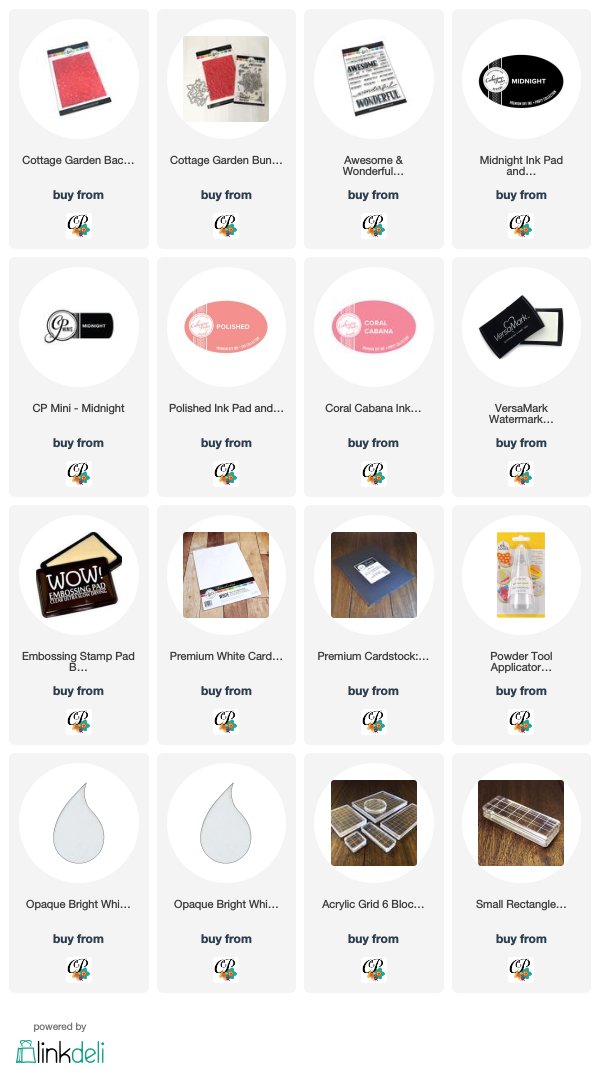
These cards use the Cottage Garden background stamp!  This stamp is so amazing.  It looks great stamped in black on white card stock and then white heat embossed onto black card stock.  Cut them apart and put them together and look at this awesomeness!!!!


I just love how these turned out.  I added the sentiment from the Awesome & Wonderful stamp set using the Polished ink pad and used direct to paper with my ink pad to create a colored sentiment strip that matches the sentiment color perfectly.  I added a sentiment in black on the colored strip and added it with foam mounting tape.  


For this card I stamped the sentiment using Coral Cabana ink and created the sentiment strip the same way, direct to paper.

Make sure you visit Catherine's You Tube channel today to hop along the video hop.

All of these products will be available to you on Feb. 13th, unless you are a StampNation member and then you get early ordering on Tuesday, Feb. 12th at 3pm.  One of the many perks of being a StampNation member.

Thank you for visiting and have a great day!

SUPPLIES
A list of supplies I used can be found below, just click on the picture below to be taken to where you can get the product.  I do use some affiliate links when I can, this means I will get a small commission if you choose to purchase the product using my link-this is at no cost to you and helps with the running of my blog.  I really appreciate your love and support!

Monday, February 11, 2019

WELCOME HOME CATHERINE POOLER RELEASE!!!


Hi everyone!  Welcome to the Welcome Home blog hop for Catherine Pooler Designs.    The Creative Team is sharing projects to introduce you to the new items that debuted at Creativation.  

My first card features the amazing Rondi's Window Background stamp and the Awesome & Wonderful stamp set.


I was inspired by Laura Bassen's fun masking and rainbow cards when I created this card.  I stamped and white heat embossed the background onto white card stock, then used purple tape to mask off each section to be able to blend the colors in rainbow order.


The wonderful sentiment was stamped onto vellum using black ink.  The rest of the sentiment was white heat embossed onto black card stock.  It's hard to tell in the photo, but I did add some sparkle to each of the little circles in the design.

My next card features the Warm Welcome & Strolling Borders stamp sets along with the Welcome word die.


I love this brick border stamp, it is so easy to create a brick wall by stamping it a couple of times.  After stamping the wall, I stamped the pot and colored it in using blender pens and Catherine's inks.


I die cut the welcome word die from black card stock and adhered it to the brick wall and added the home sentiment.  Black and white twine finishes off my card.


Comment to Win!!!

Make sure you leave comments on all the blogs in the hop today.  Catherine is randomly choosing a winner from each blog hop days comments to win a $25 Gift Certificate to the store!  Winners will be announced on February 18th on Catherine's blog.

Time to hop along to the next stop on the hop which is the amazing Ilina Crouse!  The complete blog hop list is below.
Thank you for visiting and have a great day!

SUPPLIES
A list of supplies I used can be found below, just click on the picture below to be taken to where you can get the product.  I do use some affiliate links when I can, this means I will get a small commission if you choose to purchase the product using my link-this is at no cost to you and helps with the running of my blog.  I really appreciate your love and support!

Sunday, February 3, 2019

40 & FABULOUS

Hi friends!  I've got another birthday card to share with you all today using the fun Milestone Birthday Numbers stamps and dies by Catherine.


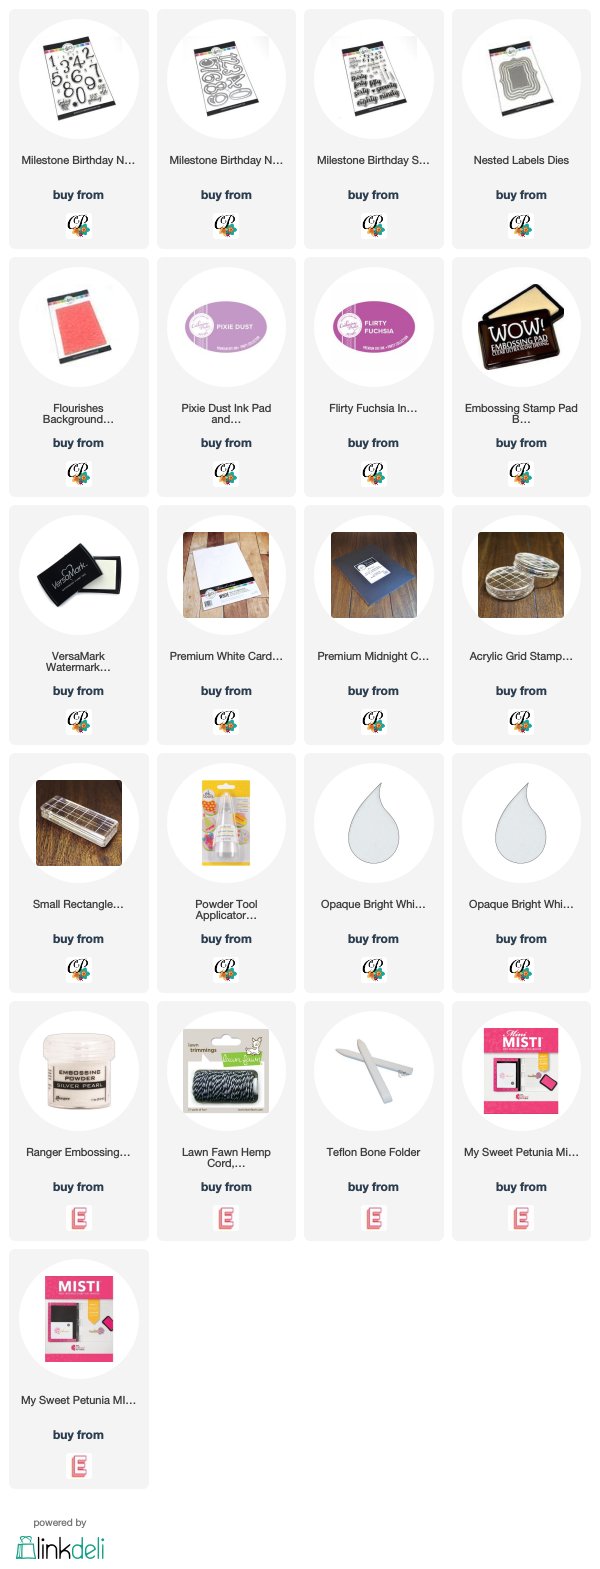
I had a silver pearl embossed background piece sitting on my desk when creating this card and thought, hmmm, maybe I can use this as a background on my card?  Yes, it worked perfectly to add a bit of sophistication to the wonky number dies.  

The background is the amazing Flourishes background stamp embossed using silver pearl embossing powder.  Love the subtle shine this embossing powder gives.


I stamped the numbers with my Misti to create the ombre look.  I used the Nested Labels dies to create a frame.

I am adding this over at Seize the Birthday: Anything Goes.


Thank you for visiting and have a great day!

SUPPLIES

A list of supplies I used can be found below, just click on the picture below to be taken to where you can get the product.  I do use some affiliate links when I can, this means I will get a small commission if you choose to purchase the product using my link-this is at no cost to you and helps with the running of my blog.  I really appreciate your love and support!